Reservations and Items (part 2)
Last week I posted an example of a report showing data relating to Reservations. To finish that example off, here is the procedure that I used to create a chart based on the same data. It may be useful in itself, but more importantly it illustrates some general principles about using charts in Talis Decisions.
Background
You will perhaps recall from that earlier post that the report had the following basis:
- A query returning Control number and Total number of reservations from the Reservations Universe
- A query returning Control Number, some further Bib data (not used in this example) plus the Total number of Items – all from the Circulation Universe
- Merging on the Control Number dimension to synchronise the queries
The Chart
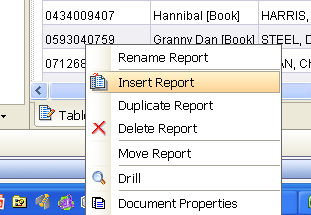 To create the chart, first create yourself a new report (i.e. a new tab in the report section of the document). The easiest way to do this is to go into the report view, right-click an existing report tab and select Insert Report.
This adds a new, blank, report tab to the document. You can right click the new tab again to change its name, and/or to move it’s position relative to other report tabs.
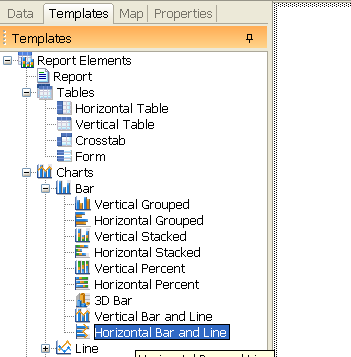 Now go to the Templates tab in the data and controls area, click on the plus sign by Charts, then the plus sign by Bar. Drag Horizontal Bar and Line into the working area.
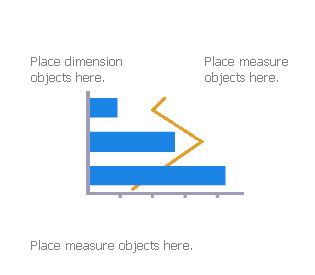 This puts a chart widget into the working area and switches automatically to the Structure view (any report can be viewed either as Results or as Structure by toggling the View Results/View Structure button at the top centre of the report view).
As the terminology implies, the Structure view shows the report definition (e.g the formulae used in specific table columns) and the Results view shows the actual data
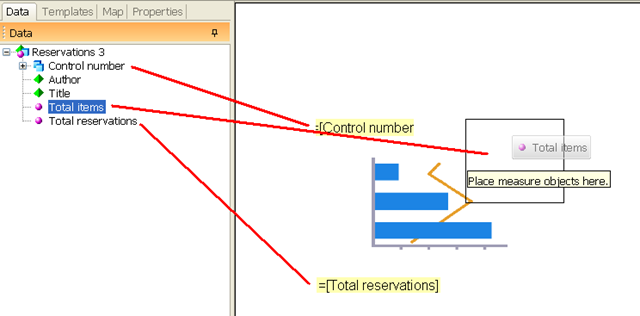
Switch back to the Data tab and drag the Control Number and the two measures onto the chart widget as shown:
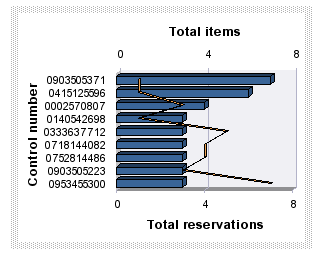
If you switch to Results View now you may not see much. There are a high proportion of items with null reservations and the chart will not know how to plot these. You could add a report filter as described in the previous post to remove the null values. You could also take the same approach to sorting.
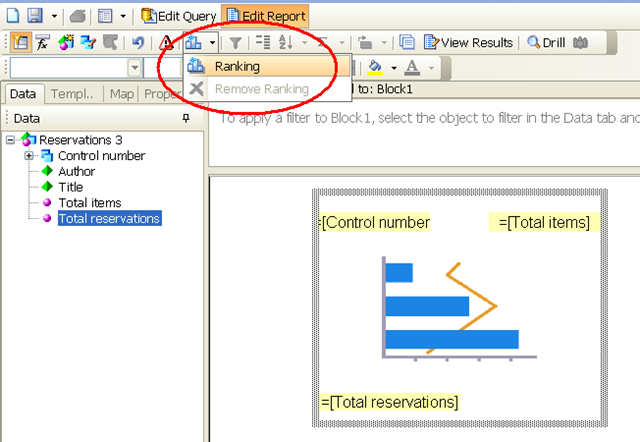
An alternative which will not only get rid of the null reservations, but will also cut the values down to the top 5 (or 10 or whatever you specify) AND sort by numbers of reservations is to use the Ranking function. Select the table and click on the Ranking icon:
…then complete the dialogue:

Now when you view results you will see something like this. Finally you can tidy it up to make it more readable. Select the Chart and click on the properties tab in the data and controls area. As a starter you might try:
- Width 600px
- Height 400 px
- Uncheck 3D look
- Check Legend
- Under Values, Check Show Data.
These changes would give you something like this:
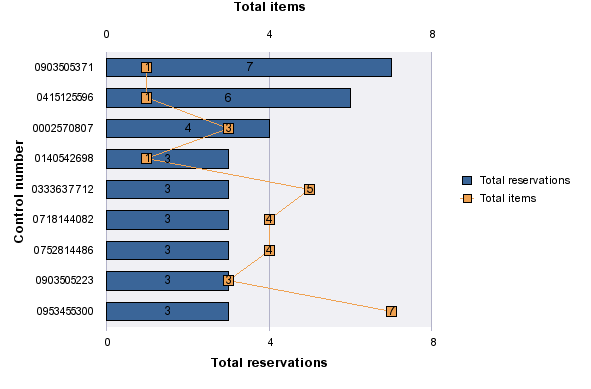
Interpreting the Results
It is arguable that, all other things being equal, the orange line (number of items) should roughly mirror the blue bars (number of reservations) because this would imply that the ratio of numbers of copies to the number of reservations would be about constant. However this picture would be distorted by issues such as:
- Seasonal effects (e.g. textbook usage in an academic library)
- Transitory effects (e.g. a title which was a Booker prize winner last month)
- Cost: if in the example above the top ranked item (Control number 0903505371) was very expensive but the fourth item (0140542698) was low cost then the latter might be prioritised ahead of the former.
In Conclusion
As ever, it would be useful to know how useful examples such as this one are. Please do let me know if this is helpful; and if you need further creating reports like this, please do feel free to speak to you Account Manager.

Recent Comments